- 24
- Apr
Shebag handmade Hermes Lindy 26 bag Bottom Assembly Production Process review (Apr 2026 updated)
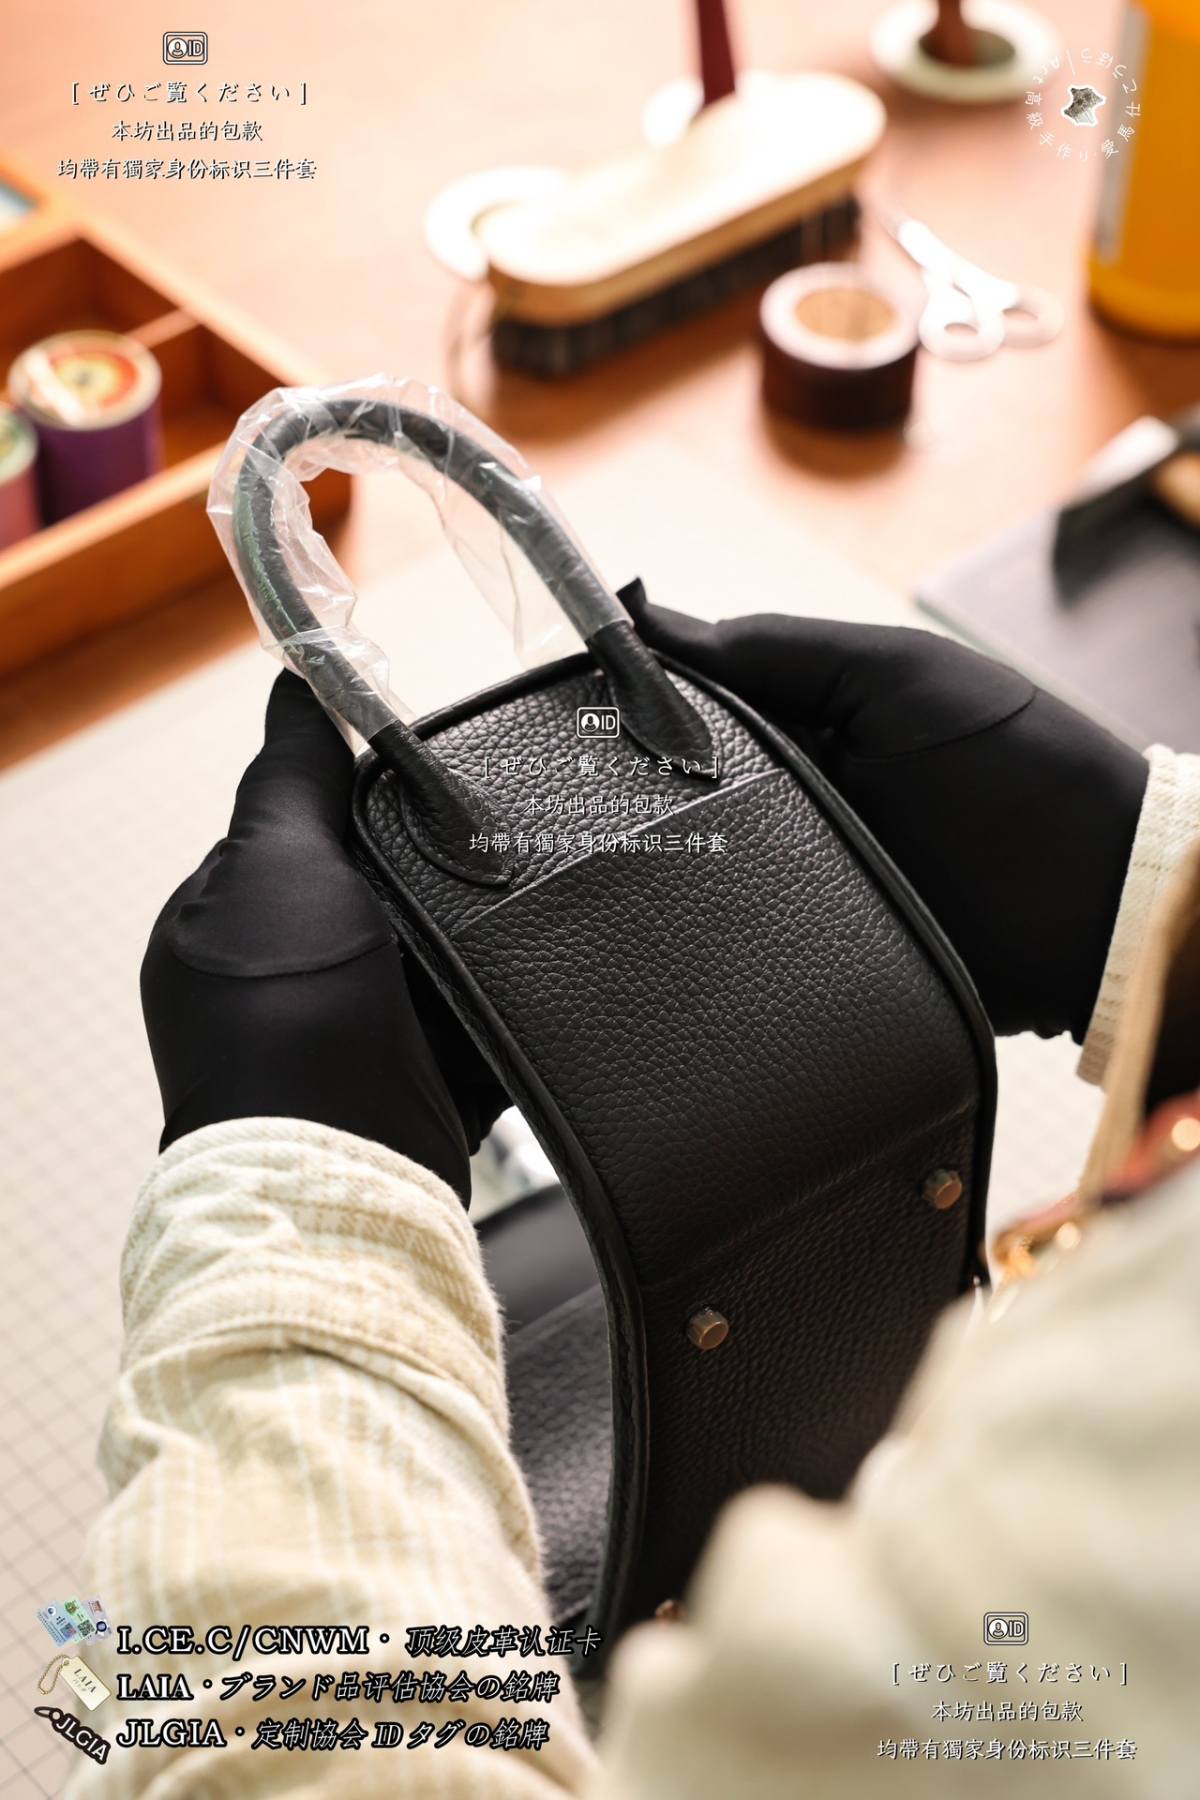
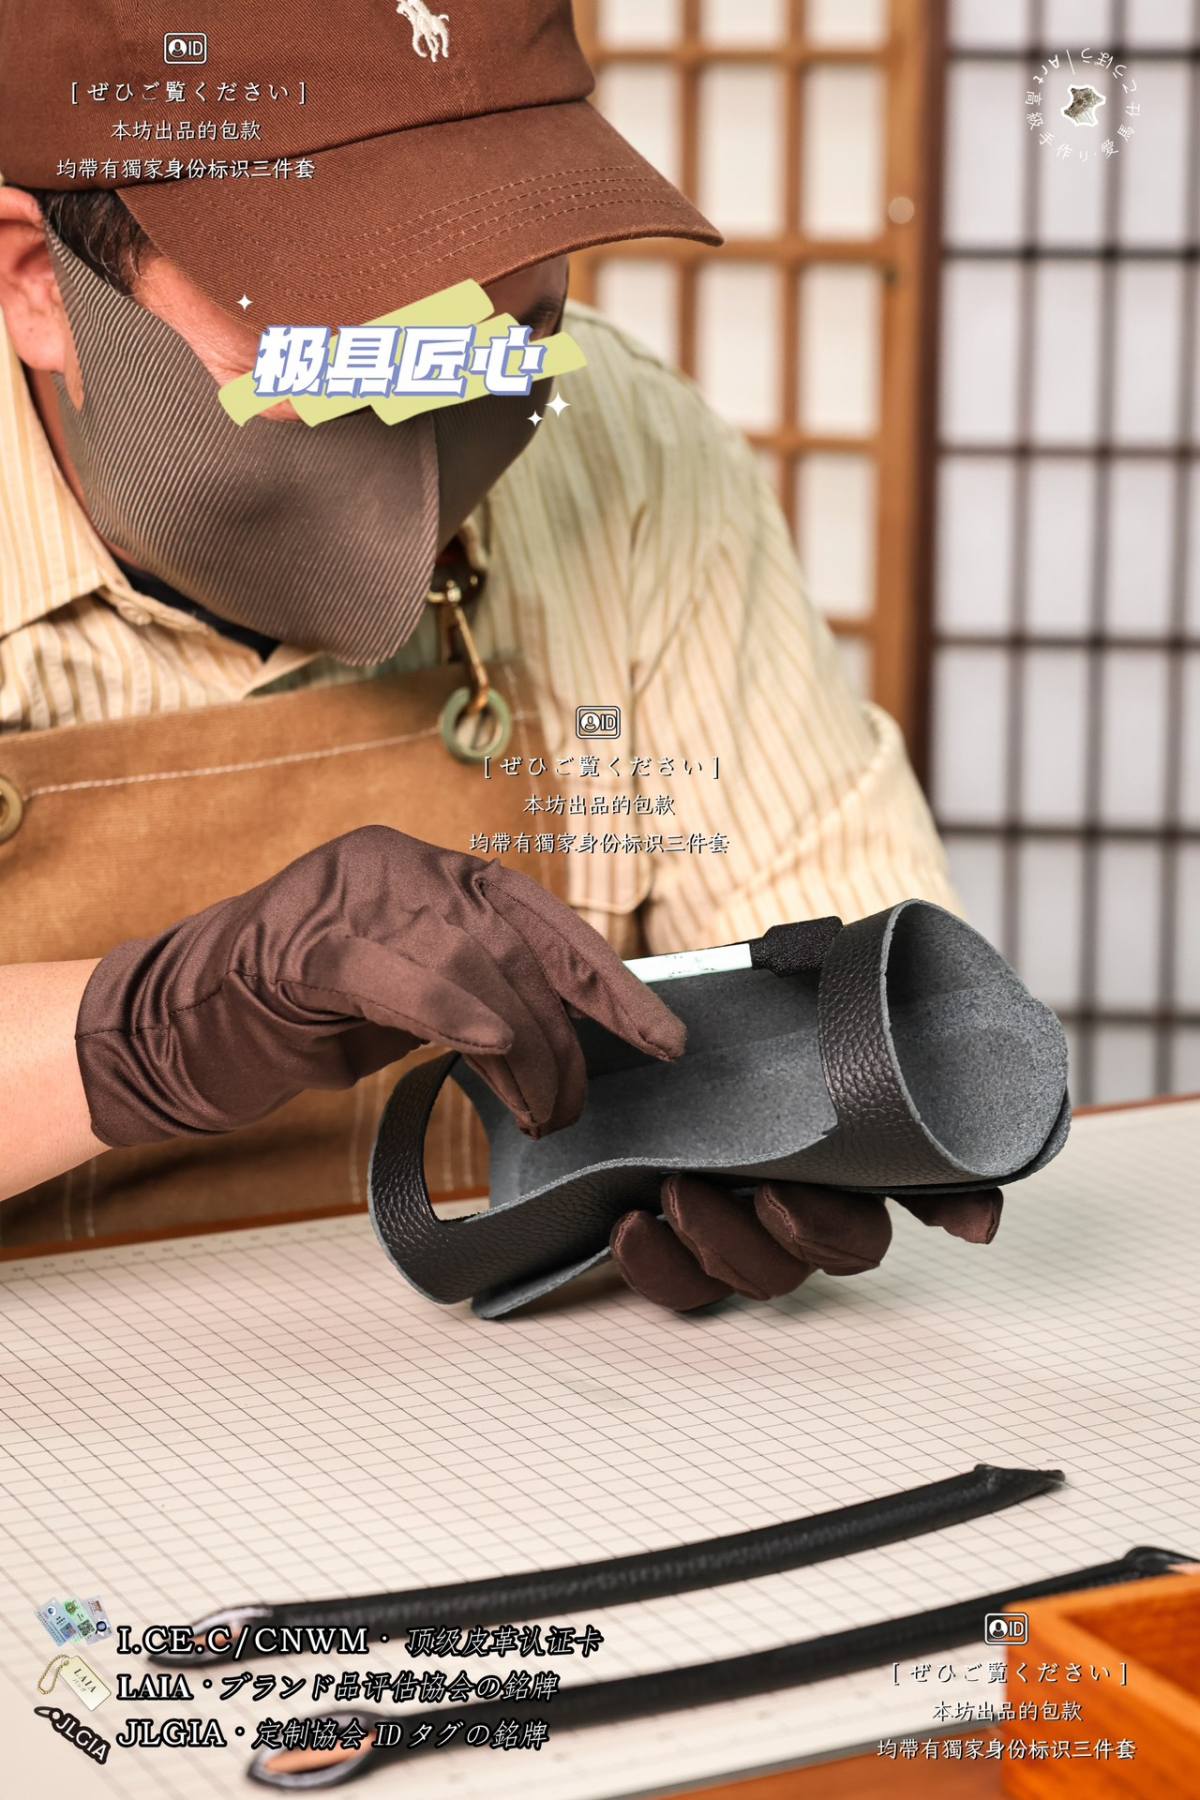
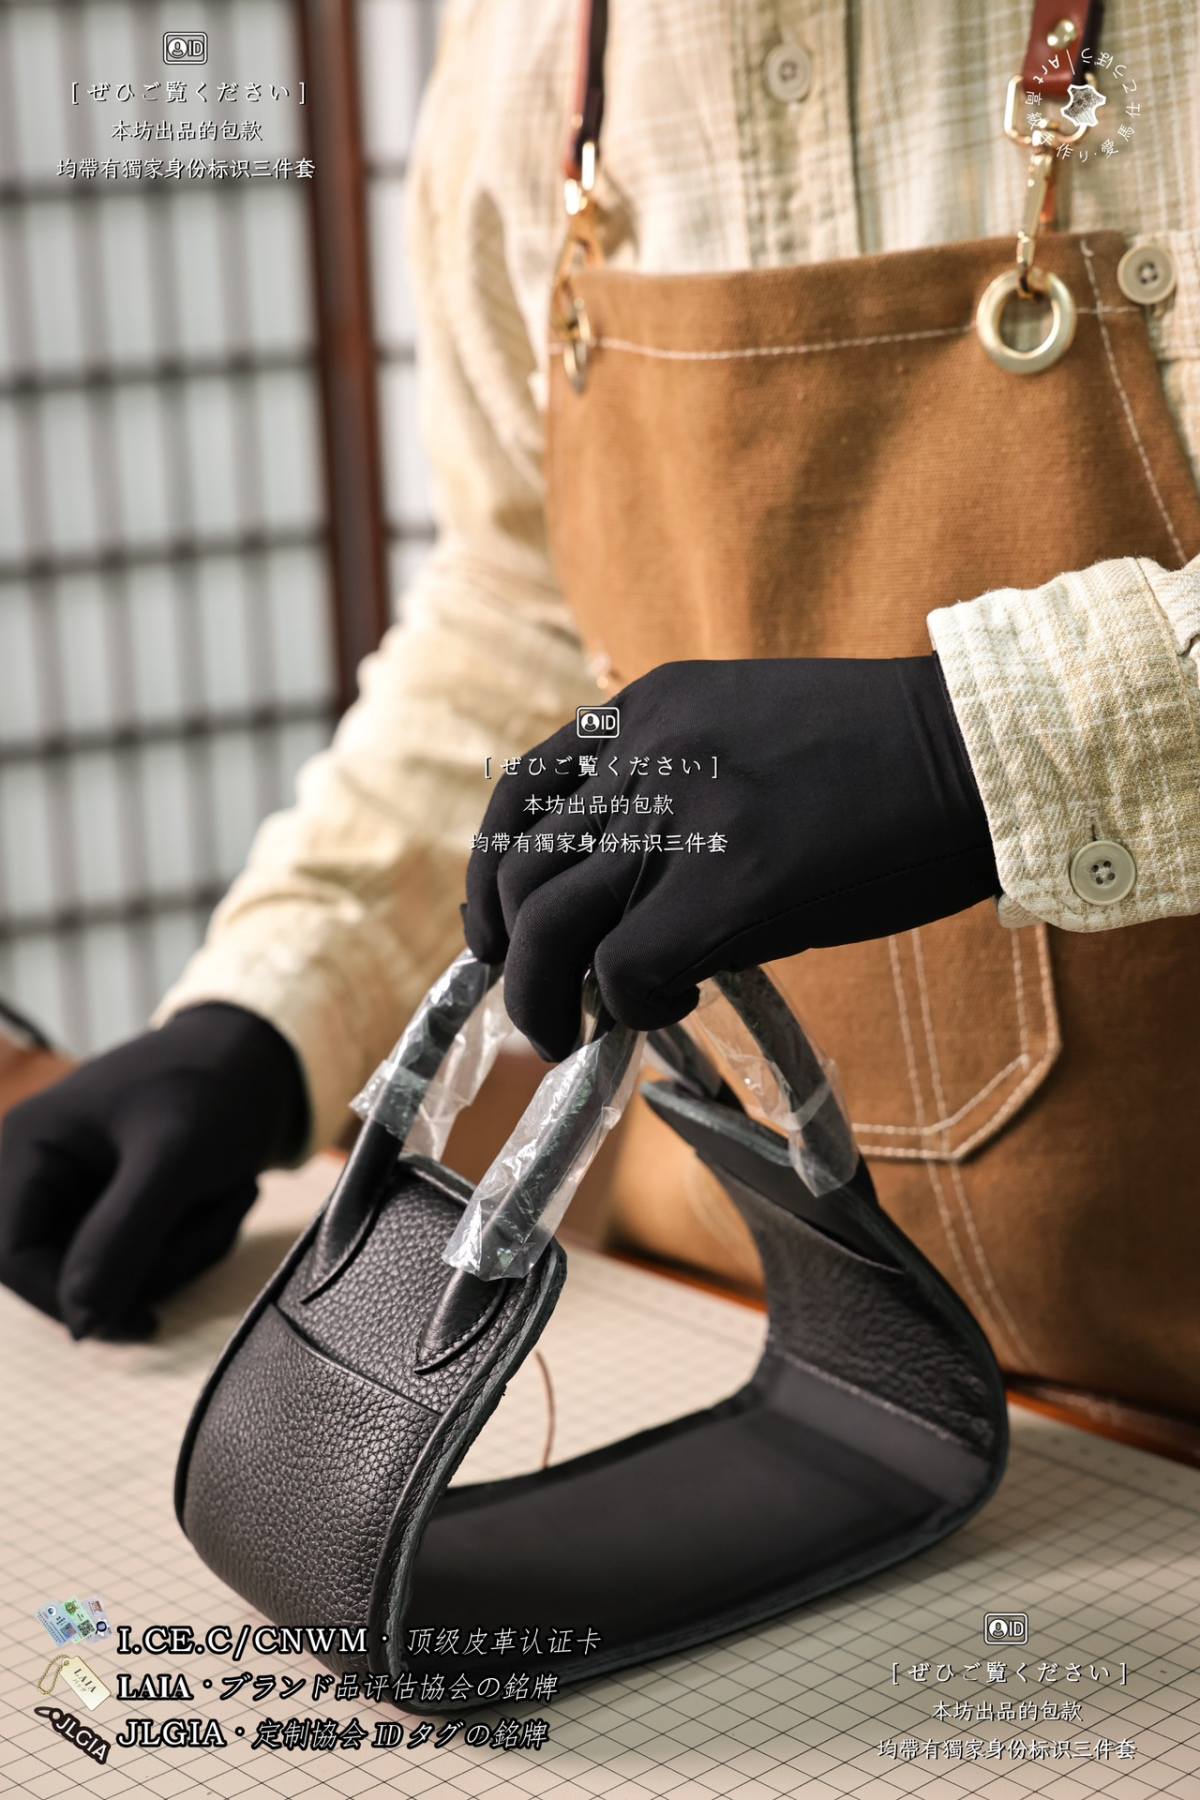
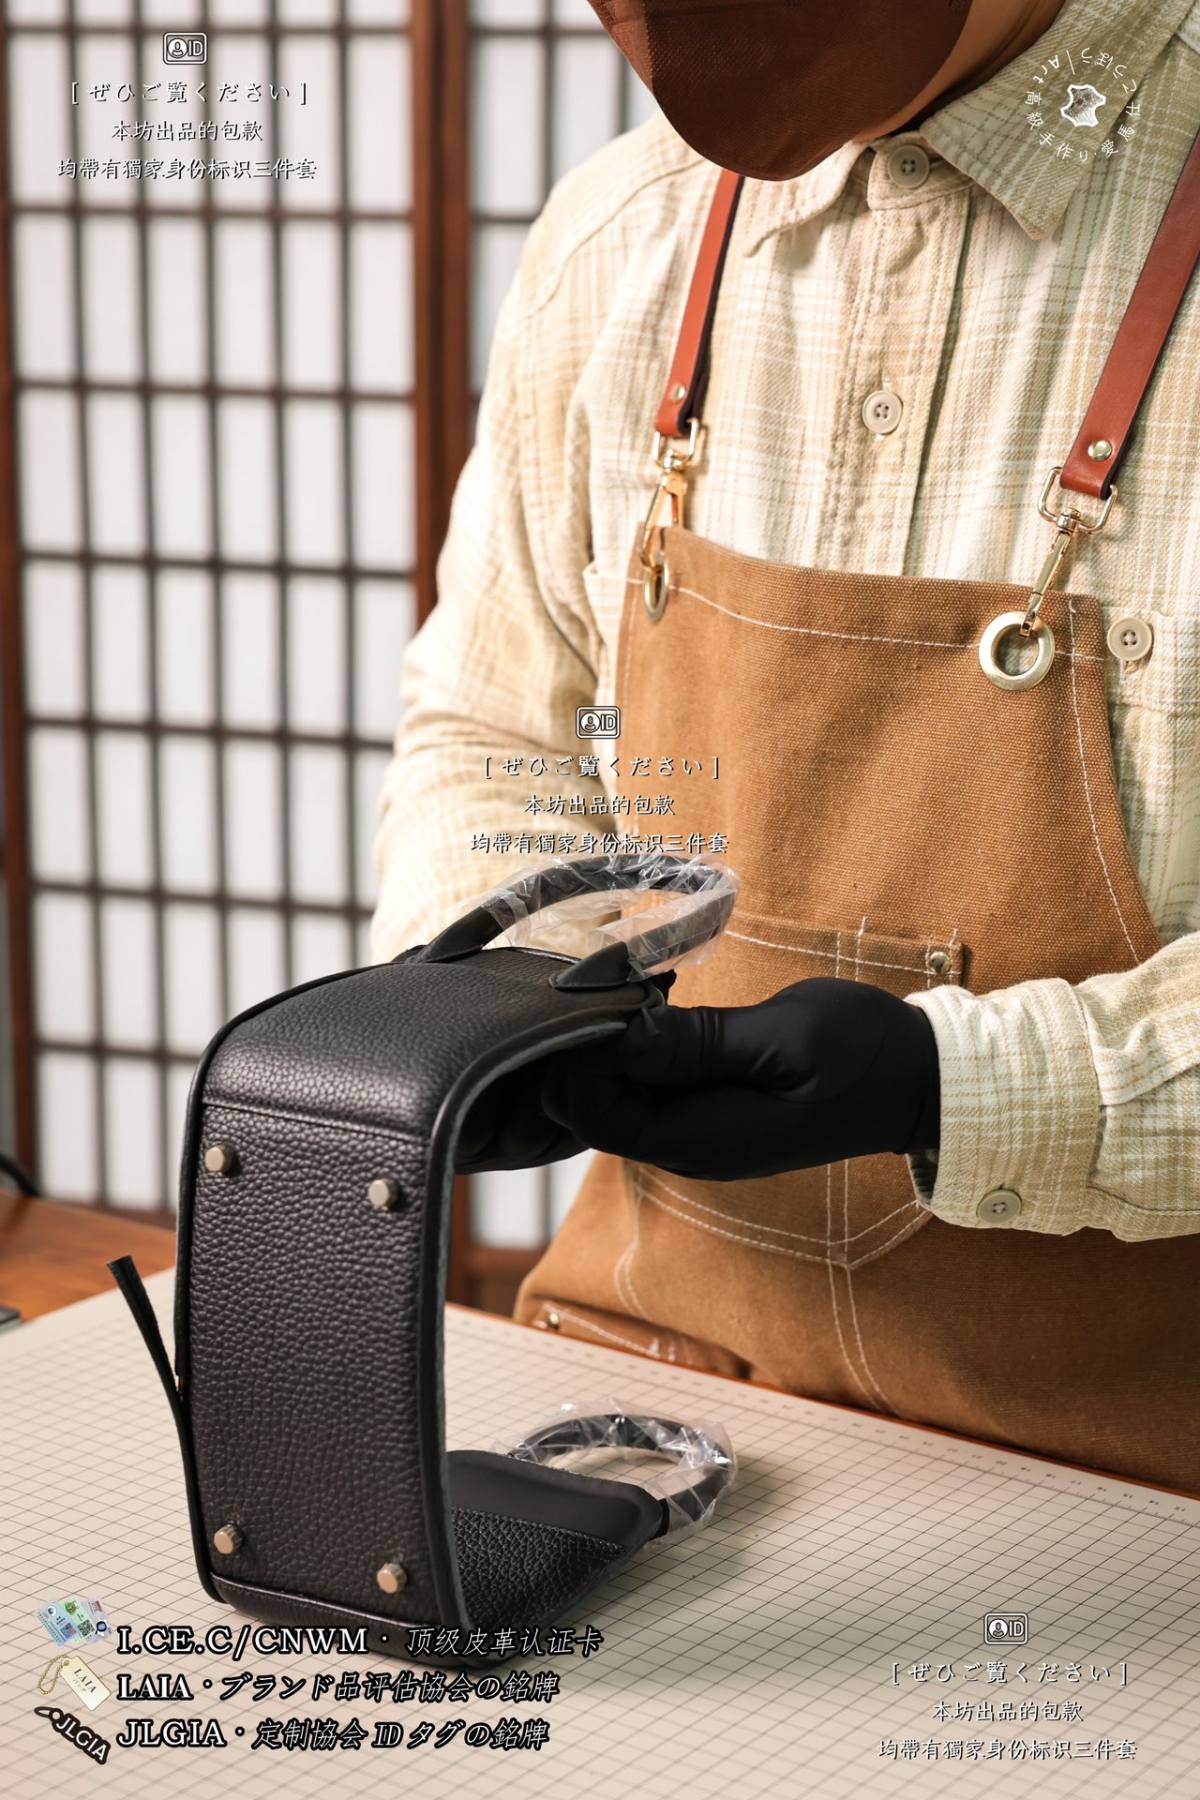
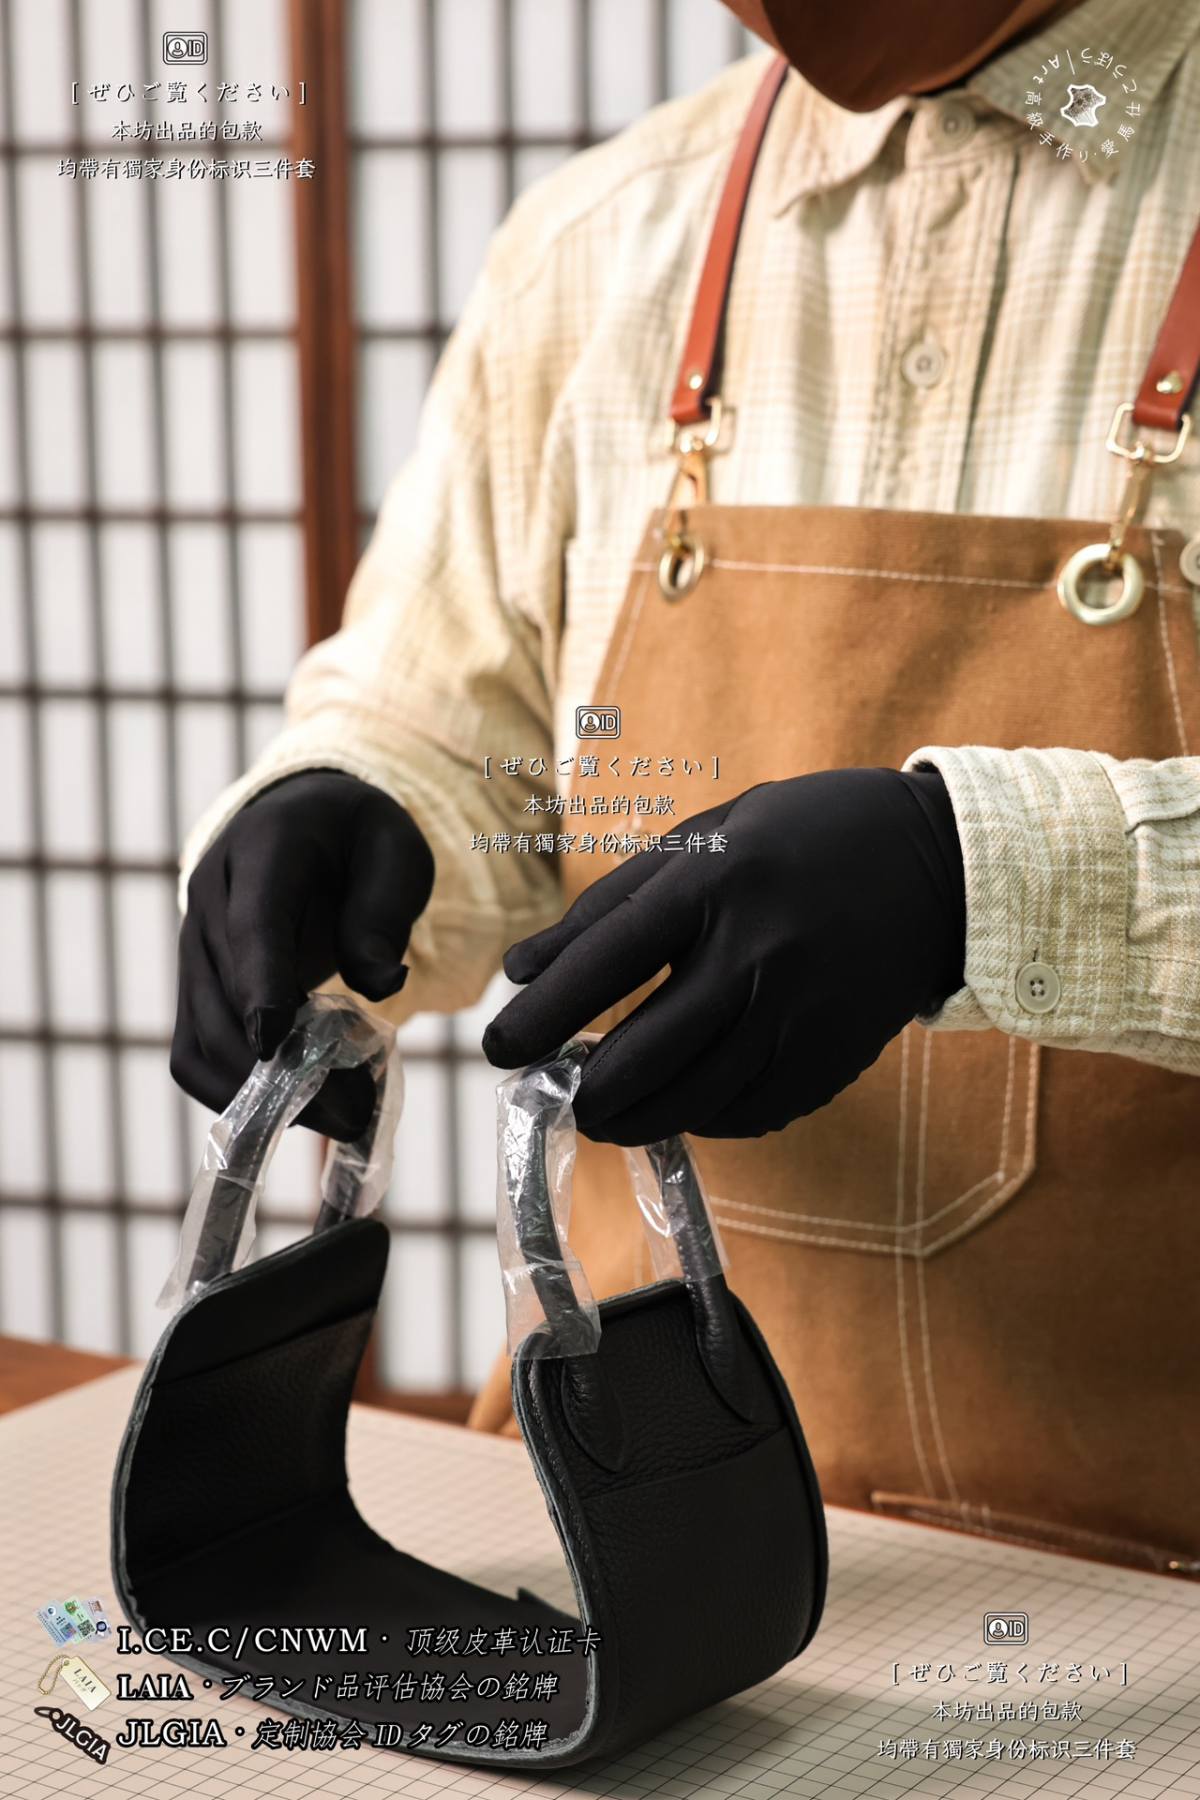
Today it’s Shebag’s top-tier bag-making craftsmanship again. We found a black Hermes Lindy 26 and are sharing the production process of its bottom assembly. Hermès Lindy 26 bottom assembly adopts the classic craftsmanship of multi-layer composite structure, hand saddle stitching, and hammered hardware feet.
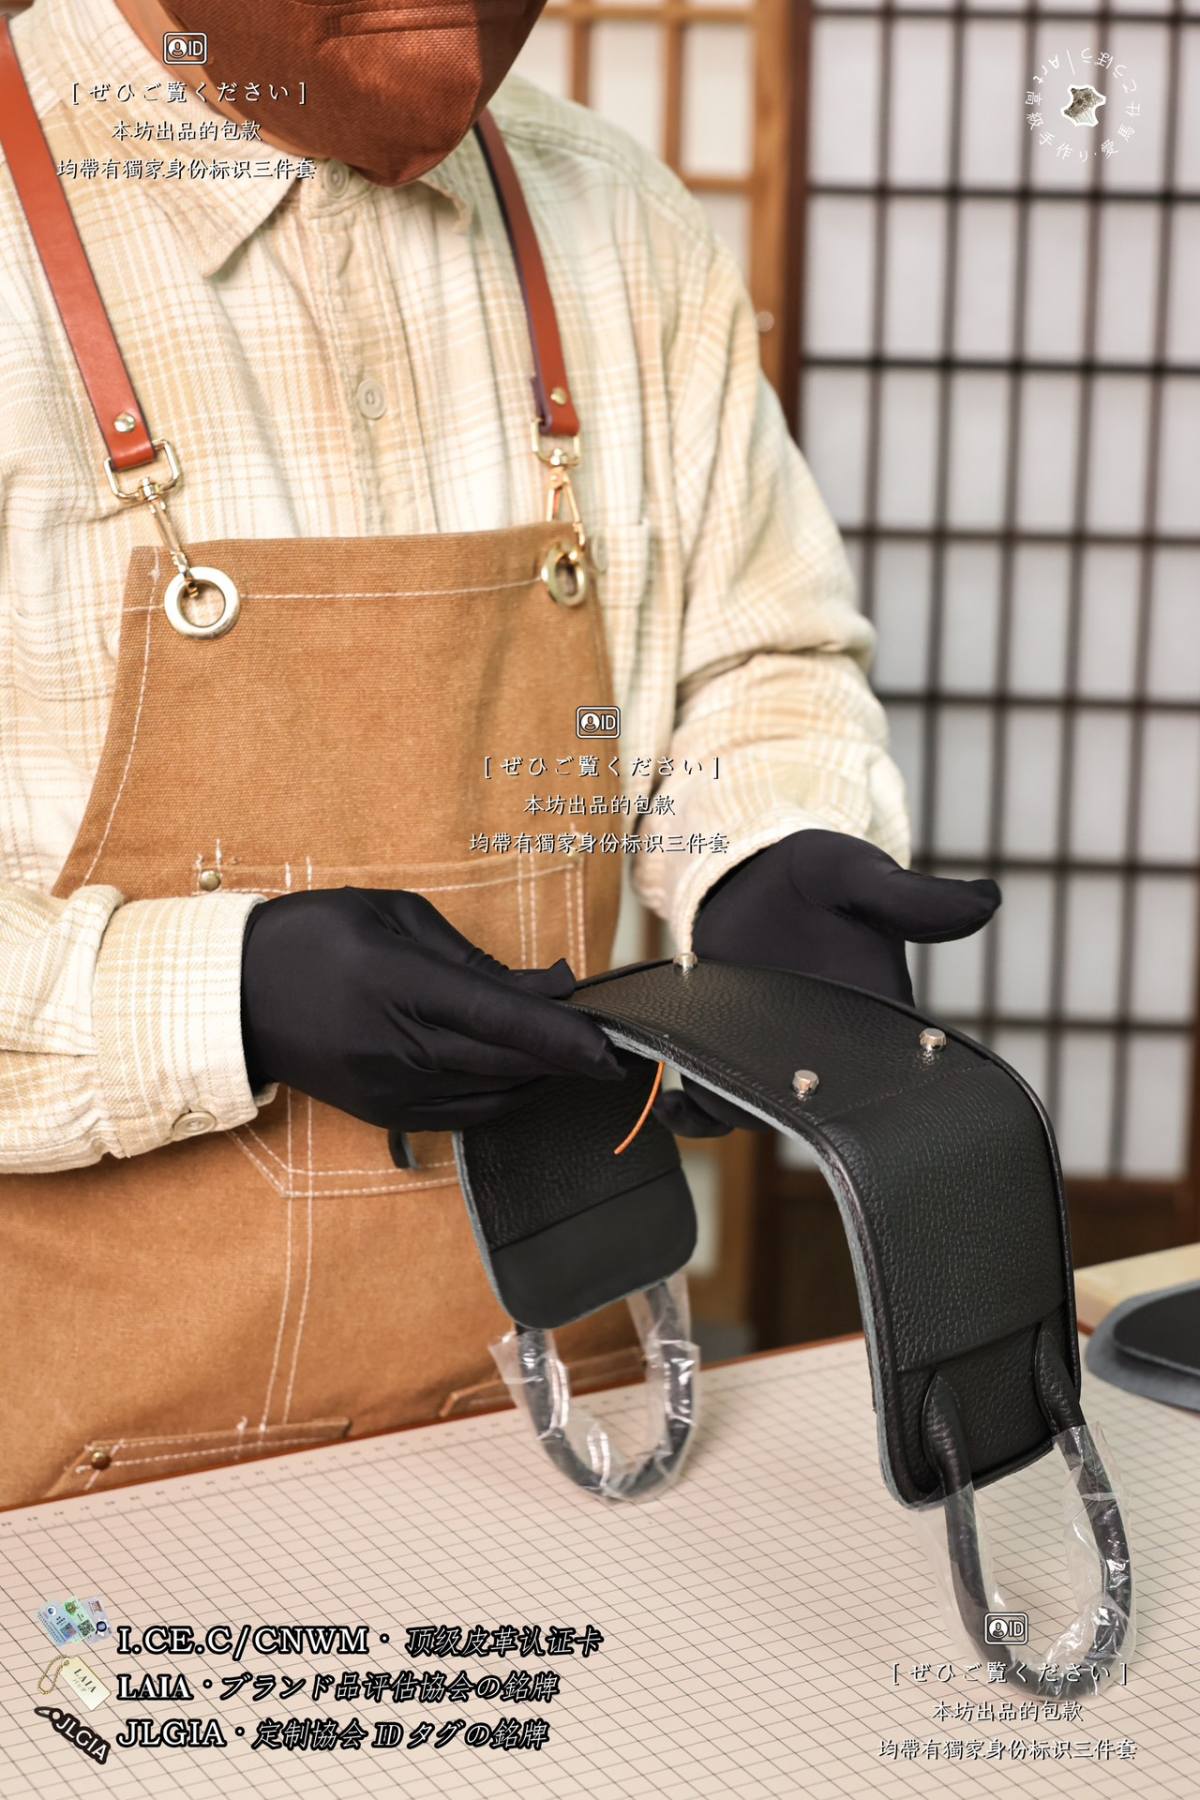
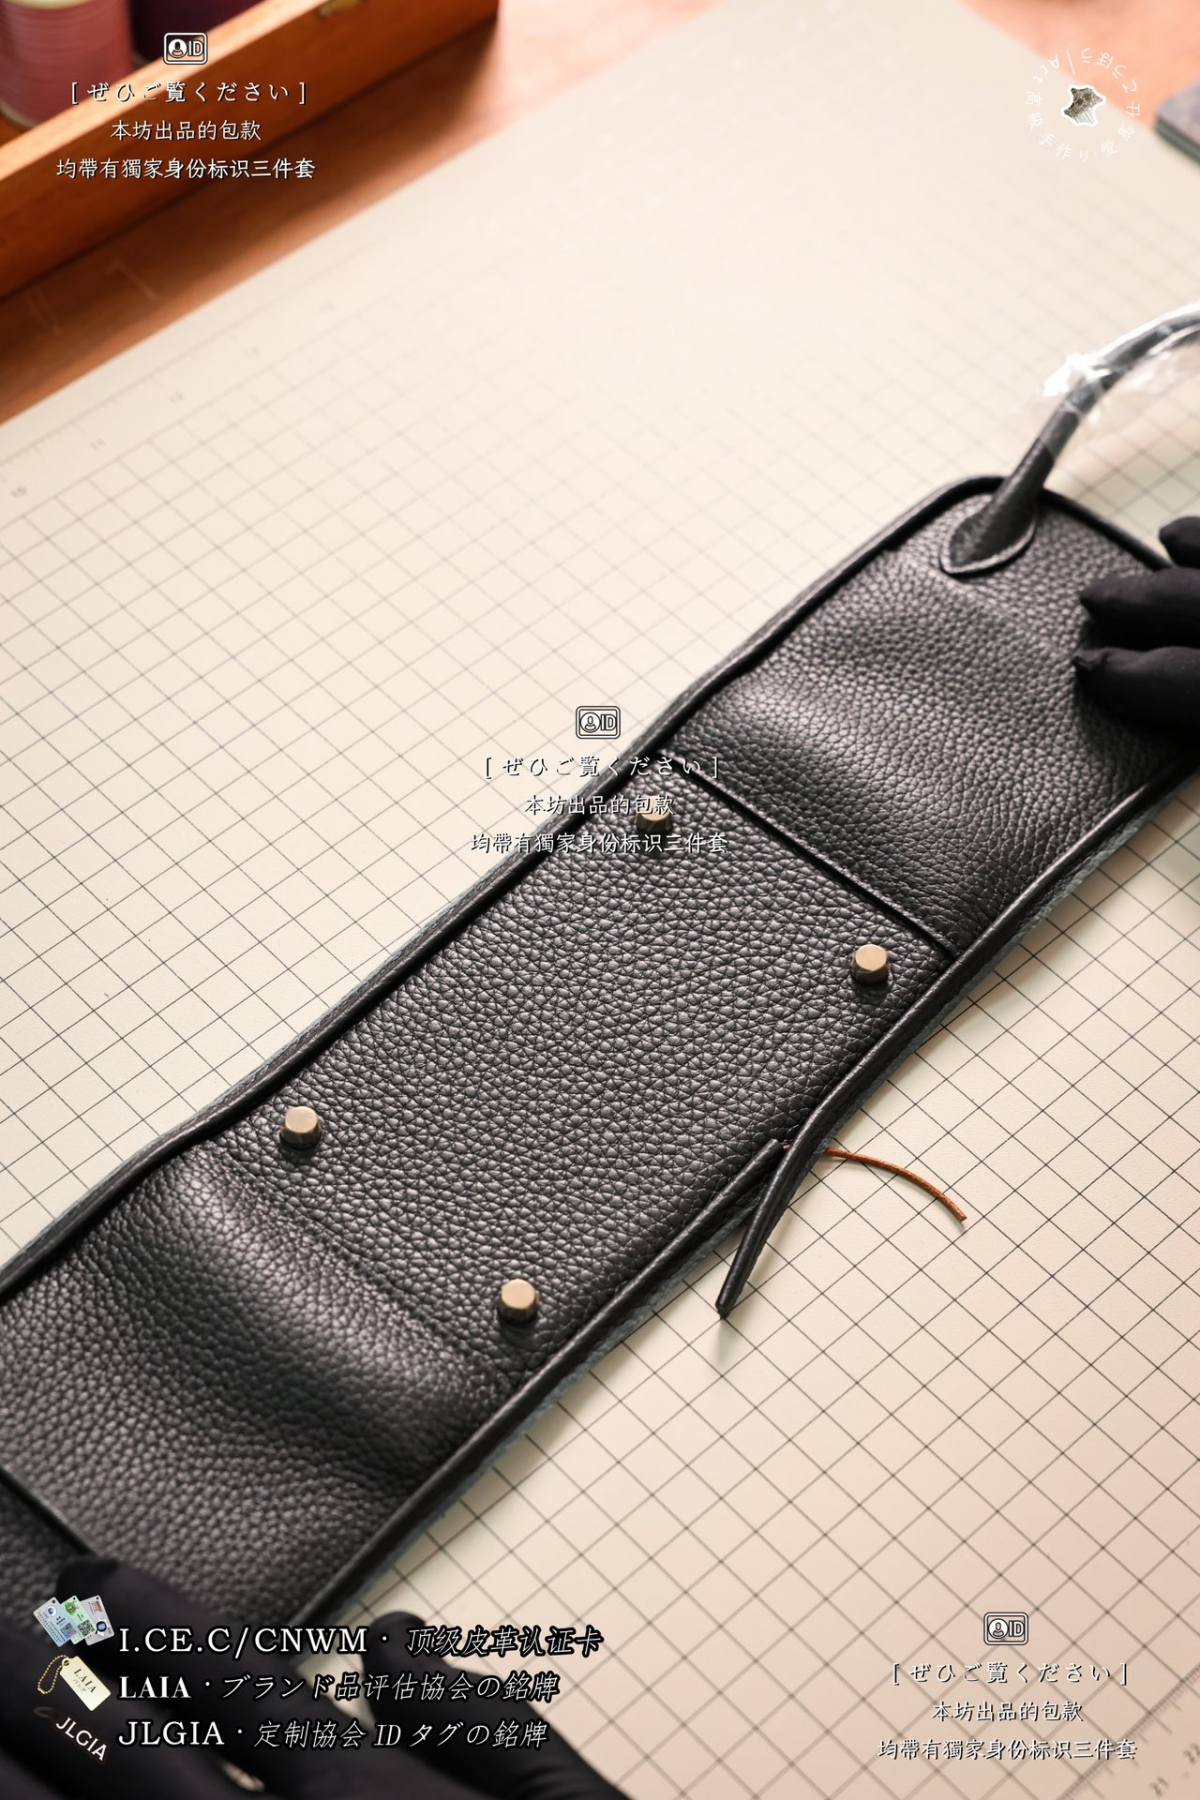
The process is completed entirely by hand, balancing structure, durability, and water resistance. The bottom base main body consists of outer leather (Togo/Clemence/Evercolor, etc.) + inner lining leather + middle leather board/cardboard/fiberboard reinforcement, which forms a “sandwich” structure to ensure the bottom stays upright without collapsing. For lining and protection, the inner side of the bottom is reinforced with adhesive lining cloth, and the outer edges of the bottom feature multiple layers of thin edge paint (Hermès-specific heatable edge paint) for waterproofing and wear resistance. There are 5 brass palladium-plated or gold-plated hardware feet (clous); these are not screws but are manually hammered for fixation, with metal washers added to the back to prevent detachment.
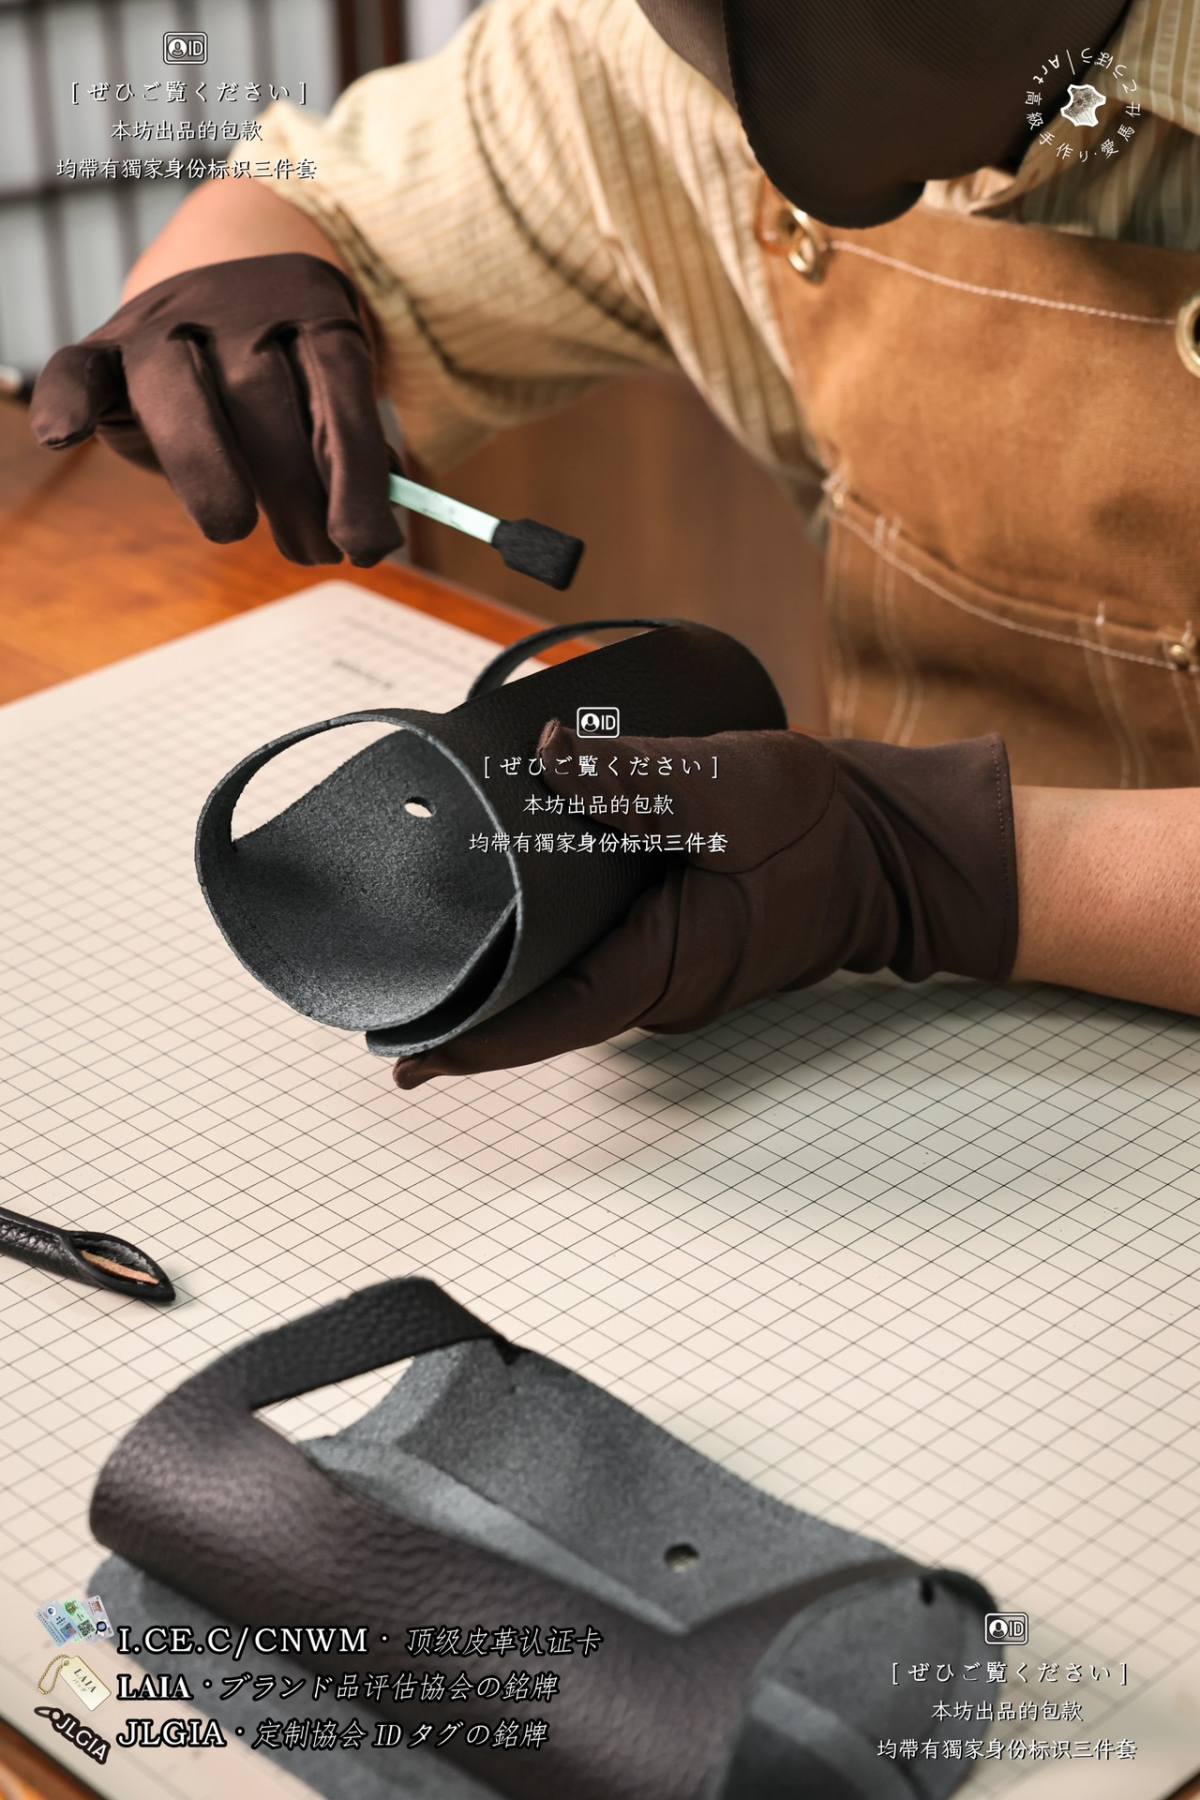
For the installation process, first is cutting and reinforcement: cut the outer bottom piece, inner lining, and lower side panels according to the pattern, apply white glue evenly to the flesh side of the outer piece and the leather board to bond and press for shaping, then apply adhesive lining cloth to the flesh side of the inner lining and trim excess material.
Next is pricking and positioning: transfer the stitching holes for the bottom and side panels, using a French iron for precise punching, mark the positions for the 5 feet and use a punch to go through the base and reinforcement layers, ensuring the hole diameter is slightly smaller than the foot post. The core step is hand saddle stitching: use double-needle waxed thread (waterproof linen thread + beeswax), start from the middle of the side panel corresponding to the bottom holes and use a diagonal saddle stitch to connect the base with the front, back, and side panels, maintain consistent tension for every stitch with uniform traces, hammer the stitches flat after sewing, then scrape the edges and apply wax to seal, enhancing strength and smoothness.
Then comes hardware feet installation with hammering technique: insert the feet from the outer side of the bottom and add metal washers on the inside, use a pressure hammer to strike manually, causing the tail of the foot to flange and rivet, which must be flush with the leather surface without loosening, then apply Perlage (Pearling) treatment to the nail head: use a round-head chisel to strike in a circle, creating a rounded pearl-like surface, and a very fine white edge forms around the nail due to compression (an authentication feature). Finally, finishing and quality control: apply multiple thin layers of edge paint to the bottom edges, sanding after each layer dries until smooth and even, then check the stitching, the firmness of the feet, and overall flatness to ensure no protrusions, looseness, or glue overflow.